 Skip to content


Blood, sweat & tears - build Roon Core yourself
I've been using Roon for a few years now. Previously, I had a local copy of my music library on each of my laptops, which I had to update manually. Add to that various SD cards from different DAPs (Digital Audio Players) and the chaos is complete! 😅
Roon recently released Roon ARC - a smartphone app that can stream music from Roon's own server from anywhere. Since more and more DAPs have an Android operating system, this opens up completely new possibilities: I can access my music, which is stored locally on my server, anywhere - whether in the office or on the beach on vacation. Wow! 😵😍
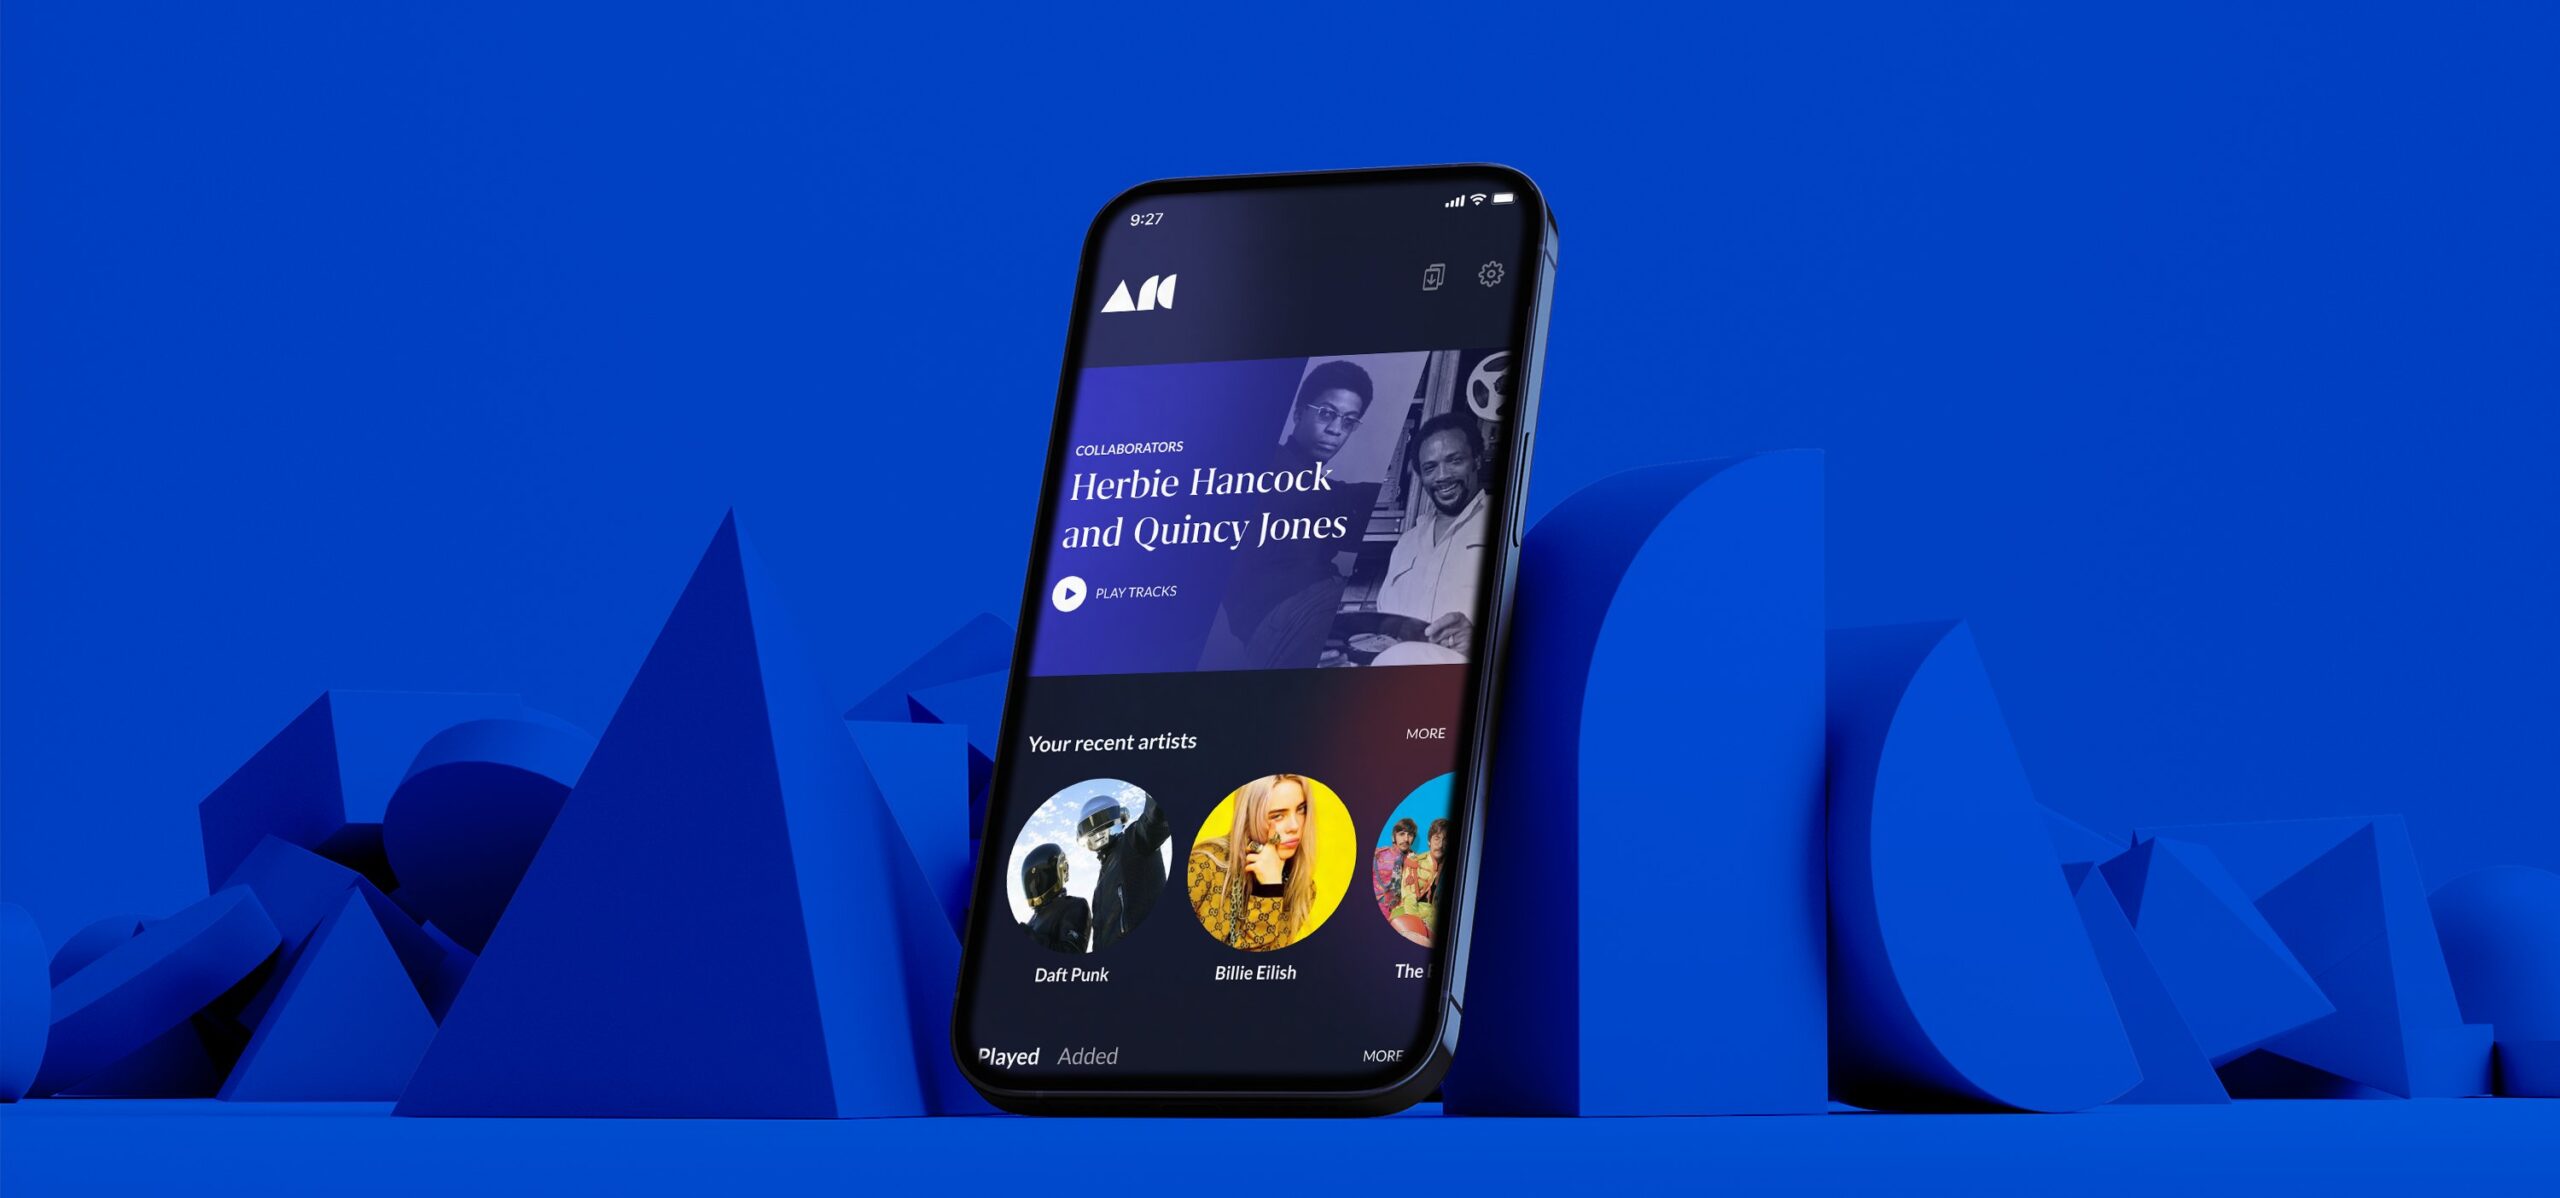
Image: Roon ARC (Source: Roon)
So what could be better than having my own Roon Core or Roon Server!?
There are several ways to accomplish this: you can use any existing computer or NAS as a Roon Core or, the easiest way, buy a Roon Nucleus. The Nucleus is a dedicated computer that does nothing other than store your own music library and make it accessible via the network. The Nucleus runs Roon ROCK, Roon's own operating system designed solely to manage music.
"ROCK (Roon Optimized Core Kit) is a custom Linux -based operating system tailored to run Roon Server, providing a premium, device-like user experience for hosting the Roon Core." (Source: Roon)
Great thing! However, the Nucleus devices have three disadvantages: They are very expensive (between 1500 and 2800 francs), are based on outdated hardware and, even in the highest variant (Nucleus+), have relatively little memory.
Actually, there is nothing in the Nucleus devices other than an Intel NUC Mini PC, packed in a stylish case. So what could be more obvious than to buy one of these NUCs myself, which is equipped with the latest hardware and use it to build my very own Roon server!?
No sooner said than done: The NUCs are available in countless variants and you you can get it almost everywhere.
Here we go.
I chose a NUC11PAHi7 with Intel Core™ i7-1165G7 CPU e. It definitely has enough power and requires little electricity.
What you need to know: The NUCs are so-called "barebone PCs", which means that you get a complete mini-computer, but RAM and mass storage (SSD) still have to be purchased.
The RAM used in my NUC is faster Crucial RAM 16GB (2x8GB) DDR4 3200MHz CL22, the SSD is a WD Blue SN570 NVMe SSD with 1 TB and Up to 3,500 MB/s data throughput can be used.
Last but not least, you need an empty memory stick with at least 1GB capacity to install the operating system.


Very important: For some inexplicable reason, Intel includes a power supply with the NUCs, but no power cable - some customers have already had this Opening the package was a nasty surprise. A power cable with 3-pin plug is required, see below, so be sure to buy it!
NUC homemade vs. Nucleus+
Nucleus
- 7th generation Core i7 processorGeneration
- 128GB SSD
- 8GB DDR4 RAM (2666 MHZ)
- Roon Rock preinstalled
- Price 2850 CHF
NUC self-made
- 11th generation Core i7 processor
- 1TB SSD
- 16GB DDR4 RAM (3200 MHZ)
- no operating system preinstalled
- Total price approx. 700 CHF
If you look at the whole thing soberly, the Nucleus costs 4x as much as our self-built NUC and consists of completely outdated hardware. The only advantage: plug it in and get started. With our self-built NUC, the operating system has to be installed yourself.
So if you can do without the (relatively large) aluminum housing of the Nucleus and are confident enough to put the memory and SSD into the NUC yourself (which is actually very easy), you will save a lot of money here and have it significantly more powerful solution!
Craft lesson - Hardware
It's actually quite easy to put the NUC together. The only thing you need is two Phillips screwdrivers (large and small) and about 5 minutes of time.


1. On the underside of the NUC there are 4 screws in the rubber feet that can be unscrewed completely. Now you can remove the cover and look at the mainboard with RAM and SSD slots.

2. The 2 RAM slots are on the left side. You can either use just one RAM stick or two.

You can't really do anything wrong, because the contacts of the RAM bars and RAM slots are each interrupted by an asymmetrically arranged notch, so that the bars only move in one direction fit into the slots. So you insert the bars into the slots until they click into place - that's it!
By the way, it doesn't matter whether you use 1 or 2 RAM modules. I chose 2x8GB.

3. Now we have to install the SSD. The first thing to do here is to unscrew a tiny Phillips screw, which will later hold the SSD in place.
(red circle)

4. The SSD is now inserted into the corresponding slot in the same way as the RAM bars. (red rectangle) and fixed with the screw
5. Now put the lid back on, turn it over, plug in the power supply and plug - done!

Craft lesson - software
So far everything has been super easy and quick. The NUC is ready and now it's time to install an operating system, because without it we can't get any further!
There are basically 3 options or3 operating systems we can use:
- Roon ROCK
- A Linux distribution
- Windows (7, 8, 10, 11 - it doesn't matter!)
Each of these variants offers its advantages and disadvantages and it depends a bit on which environment you feel comfortable in and how experienced you are with the individual operating systems.
I had already decided on ROCK at the beginning, because the Roon operating system is specifically optimized for Roon Core or Roon Server and is apparently very easy to install, so what can go wrong?
Short answer: EVERYTHING! 😣
The sufferings of young Werther... er...Tom
Now it was time to get down to business. And that brings us to the next tip:
In order to install an operating system, it is absolutely necessary to configure the NUC's BIOS so that it can be booted from the USB stick. Don't worry, it's very easy!
Unless, of course, you, like me, forgot something very important: keyboard and mouse! No, that's not a joke. I've been used to working on a laptop for years and use an external Bluetooth keyboard and mouse - and of course they don't work without an operating system and appropriate drivers!
You need a wired keyboard and mouse. I realized this when
I turned on the NUC. 😕 It was already 7 o'clock in the evening and I immediately jumped in the car to buy a cheap wired keyboard and mouse at the nearest electronics store.
The whole thing cost me another 70 CHF, but I also had very nice gamer hardware with constantly changing LED lighting at home! 🤣
Customize NUC Bios
1. When you turn on the NUC, press F2 and you get into the bios.

Here you can see whether the installation of RAM and SSD worked - these are displayed correctly - everything is fine.
2. Now we go to the “Boat” tab at the top right and see the following menu.

3. Click on “Boot USB Devices First”.
4. Scroll down and click "USB".
5. Press F10 to exit and save. The NUC restarts and is now ready to read from USB sticks.
Prepare USB stick with operating system
Now we prepare the USB with the operating system we want to install. This depends on whether we want to install ROCK, Linux or Windows.
ROCK the Casbah - or not.
How to install ROCK on the USB stick is here: ROCK Install Guide (roonlabs.com)
In principle you need the ROCK image, which we can find under Downloads - Roon Labs, and a program that formats the stick and copies the software onto the stick so that it is bootable.
I used Balena Etcher: balenaEtcher - Flash OS images to SD cards & USB drives
You start Etcher, select the Roon image that we downloaded and Etcher does the rest.
The stick is now ready. We plug it into one of the free USB slots on the NUC and restart the NUC - the NUC should read the USB stick and install the operating system - No response! 😣
Nothing happened. All settings are correct and the stick is prepared.What's going on? An hour of searching in the Roon forum reveals the problem: My NUC is too new! This means that ROCK is only compatible with NUCs with Intel hardware up to generation 10. I bought a NUC with Gen 11! 😒
From Gen 11 onwards, the BIOS is no longer a so-called "legacy" BIOS but a more modern "UEFI" BIOS. Unfortunately, Roon have not updated their ROCK operating system for years and adapted it to newer hardware.
Linux - not for dummies like me!
So there are only 2 options: Buy an older NUC that is not newer than generation 10 or install a different operating system. I only have option 2.
I go to the forum again and decide on Linux because a number of forum members "sell" it as a slim and modern operating system and ROCK is nothing more than an adapted Linux anyway. From now on my ordeal really begins!
I would like to make it short and make a recommendation: If you have never had anything to do with Linux, stay away!

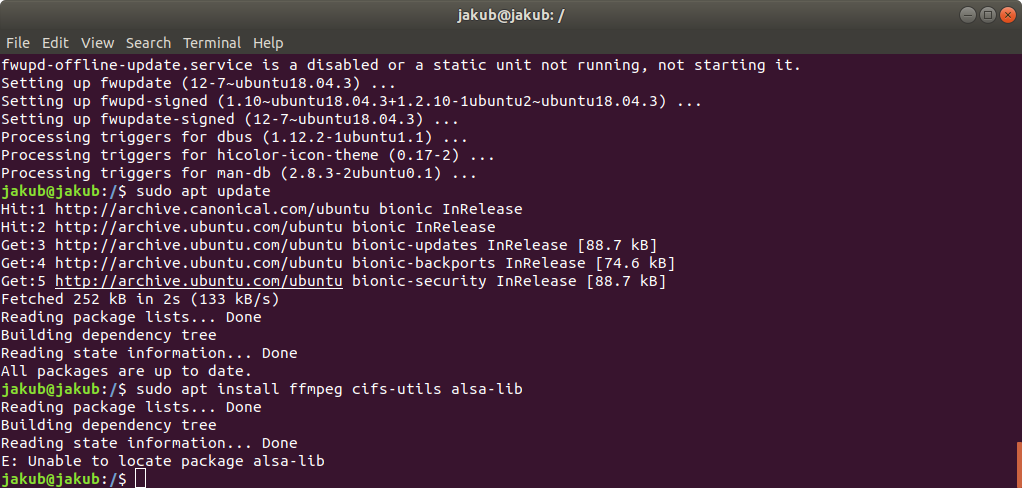
Not only do you first have to choose one of the many Linux variants (I chose Ubuntu), you also have to write a new operating system image to the stick in order to install Linux instead of Roon.
That also happened pretty quickly. Unfortunately, with Linux you can't simply download Roon Server and install it with a double click like you can with Windows or MAC. No, you get a "package" that has to be somehow unpacked and manually compiled and installed using the terminal (command line). I felt like I had been transported back 30 years to DOS times and had to give up after another 2 hours despite forum support.
User friendliness in 2022 will look different! Now some of you will probably laugh at me. I would describe myself as a "nerd" and "geek" and am not at all afraid of new software - I even dabbled in programming for a while. Still, the user experience designer in me cries out when I see how archaic Ubuntu feels in contrast to Windows 11 or MAC OS. As I said: If you know what you're doing - go ahead!
The clock is now striking midnight and I actually want to go to bed. I'm frustrated but can't give up let alone sleep now! I resort to the last option available to me: Windows.
Windows - why not like this?
Yes, I was stupid and naive to think that it would just get sore and happen quickly! I believed Roon's promises and didn't read enough beforehand. Hopefully I can save you that.
After my experiments with Rock and Ubuntu ended in failure, I turned to what I've known inside and out for 30 years: Windows.
And now everything happens very quickly. With a small catch: The USB stick with Linux has become unreadable for my Windows PC because the file system is not compatible. No problem: Open Disk Management in Windows, delete the partitions from the stick and format them again with ExFat - et voila!
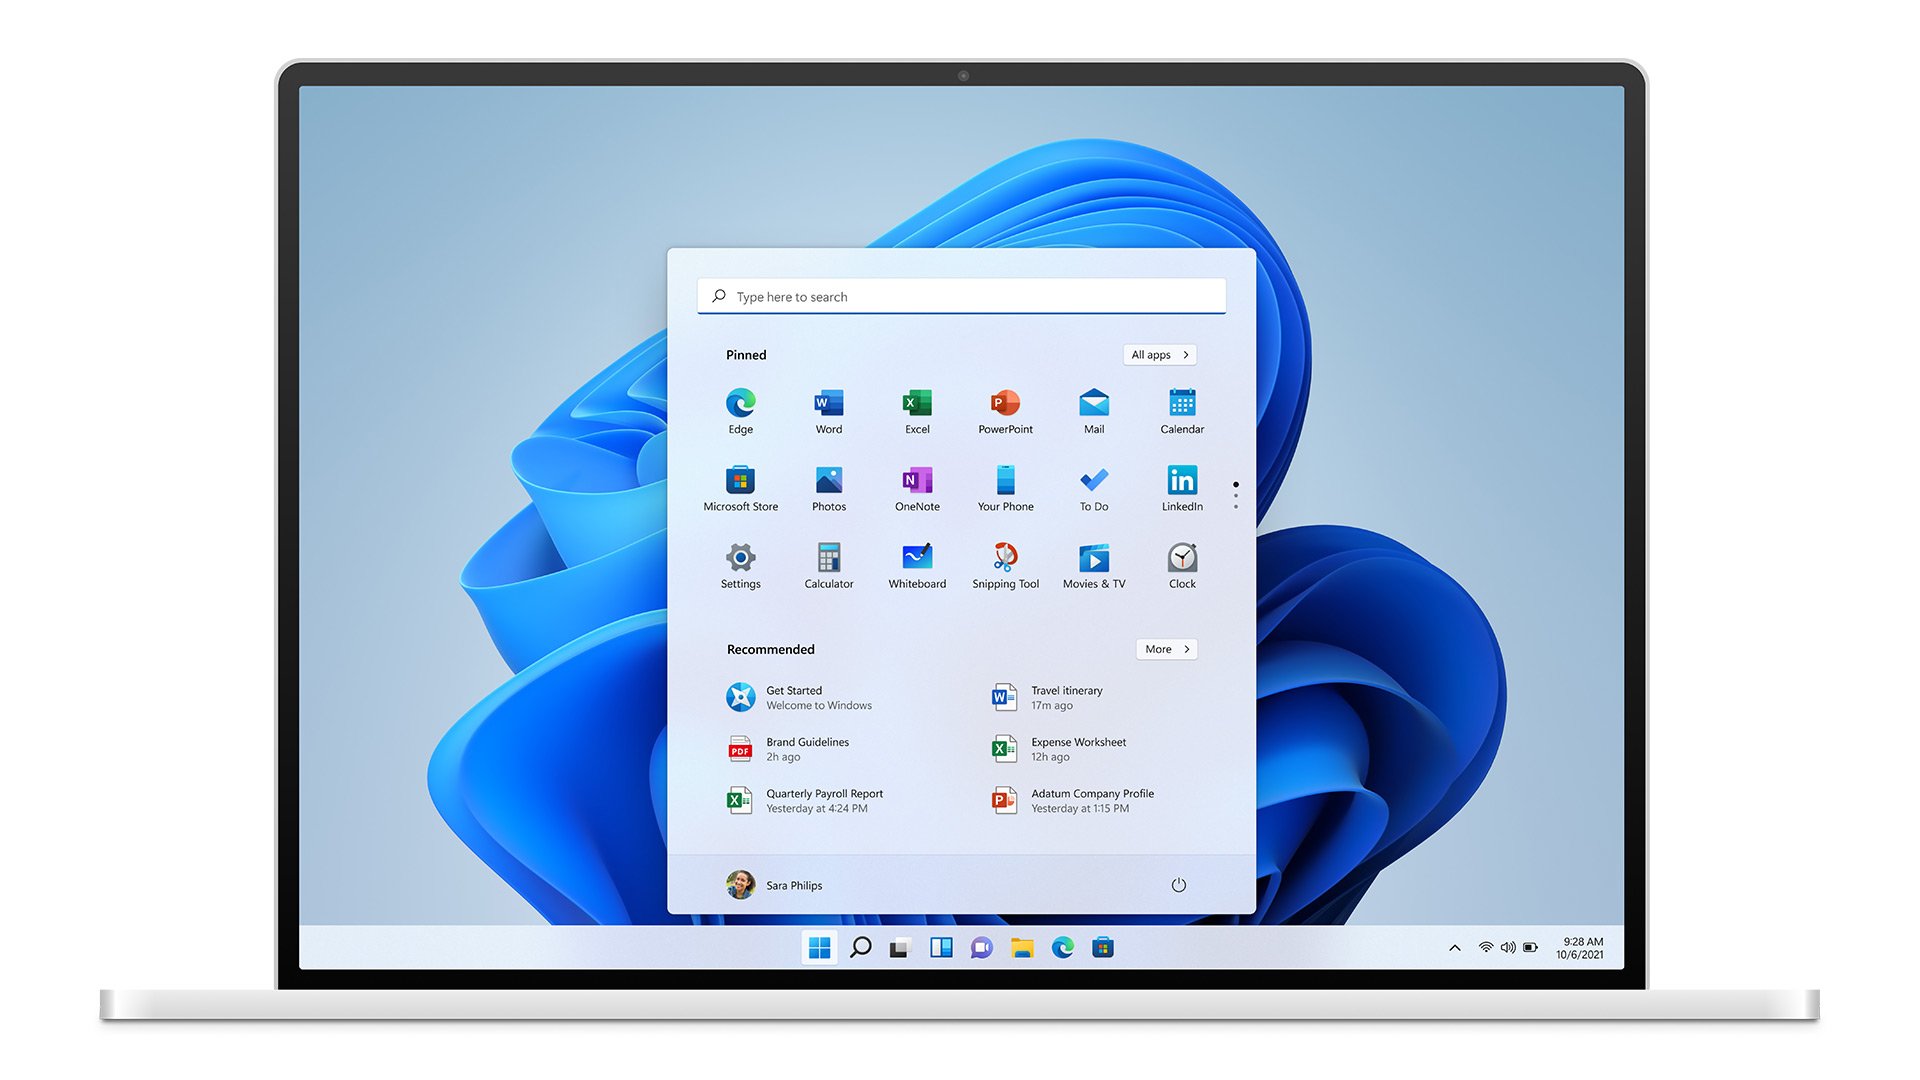
Microsoft makes it easy for the user: you simply download software that contains the desired Windows version and automatically! installed on the USB stick - this only takes a few minutes.
Creating an installation medium for Windows (microsoft.com)
Now insert the USB stick into the NUC, restart and lo and behold, Windows 11 installs itself within minutes and without any problems.A restart later and I am back in the usual environment and can now easily install Roon Server on the NUC by double-clicking.
Downloads - Roon Labs
It's done - at least so far. Roon Server runs on the NUC!
But even under Windows there are a few things to consider to ensure that your Roon Server runs properly and even if it does, your Internet service provider could still throw a spanner in the works make.
I'll tell you in the next blog what kind of things these are and what else you need to consider!
Oh yes, of course you can also use a MAC Mini instead of the Intel NUC if you Windows doesn't lie!
See you then! Your Tom
More blogs
There's something else going on! - Optimizing a Hifi streaming chain